Take care of your straight razor
Stropping, sharpening and maintenance
Written by Simon Klaren, barber
If you are one of those who want that genuine old-fashioned barbershop feeling and feel ready to take the next step from the shavette and go all in, then we have finally arrived at the good old straight razor. We are talking style and elegance (and for many women – sex appeal), and you may think it is worth compromising on the extremely close shave of the shavette in order to experience what it is like to work with a historic shaving tool that dates back hundreds of years and to care for your tool as meticulously as a car enthusiast waxes a vintage car. It does not get more authentic than this.
If you feel just as eager after trying the shavette or the safety razor and feel that you more or less master the technique, you may be ready for the straight razor. Unlike a shavette, a straight razor requires quite a lot of work, love and care. The blade is forged, which means it requires attention, and that responsibility also falls on you as the owner if you want a good shaving result. But that is also part of the charm – it is a lifestyle and a sense of luxury you are investing in that cannot be compared to anything else.
A straight razor consists of two main parts: a handle (similar to the one on a shavette) and a folding blade, which in turn has an edge (the sharp long side) and a spine. The blade and the handle are joined together by means of a so-called tang.
On the finer razors, the blade is often decorated with gold.
It is extremely important that your straight razor is made of quality steel, otherwise you will not get a good, sharp edge, and then you can forget all about effective shaving. The best material is so-called carbon steel (known for providing excellent sharpness and commonly used in chef’s knives and even car bodies) or steel with silver in it. These can be found, among others, from the German company Dovo, one of the world leaders in straight razors and accessories. Among the most beautifully designed and high-quality handmade razors, we find the French Thiers-Issard Sabatier. There are also Swedish brands such as Heljestrand, made in Eskilstuna, that are of high quality.
We have seen stainless steel used in replaceable double-edge blades and it works excellently for that purpose, but here it is definitely not recommended (if you come across a Chinese straight razor in stainless steel – yes, they do exist, for example on the second-hand market – you should make the sign of the cross immediately and keep looking). They simply cannot be sharpened to any proper level of sharpness.
The price difference between straight razors usually lies in the handles and how exclusive they are in appearance and choice of material. Buffalo horn, Spanish oak and ebony are generally a few hundred kronor more expensive than plastic and imitation mother-of-pearl (although the variation is wide). On the finer razors, the blade is often decorated with gold. If you want to appear extra bold and own a real luxury piece, there are actually straight razors with handles made of genuine mammoth (certificate included), but then you also have to bring out five thousand kronor! Luxury comes at a price.
A small selection from our many straight razors
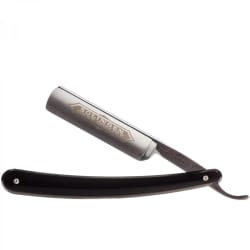
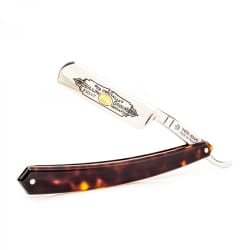
Or see our full range of straight razors here...
The width of straight razors is measured in inches and is available in sizes from 3/8 inch to 7/8 inch, and once again it is a matter of individual preference and personal taste as to what one prefers. A wider blade has more room to collect lather and hair, but at the same time it is also harder to manoeuvre. The front tip can also have different shapes on different razors, but a round tip is generally considered the easiest to shave with and the least likely to cause bloodshed.
Straight razors are also made with different grinds, and here there is good reason to think twice – the system may seem complicated, but it is important to spend a little time on it since it can matter when choosing the right razor for your needs.
The most common grinds are Full Hollow, 1/2 Hollow and 1/4 Hollow, which indicate how concave the lower part of the blade is at the edge. The more concave a razor is, the thinner it is and therefore also the sharper. A Full Hollow is very concavely ground and generally becomes much sharper and thinner than a 1/2 Hollow or 1/4 Hollow. And the thinner it is, the harder it also becomes to master – so if you want a Full Hollow, you should definitely have some experience and a steady hand. A 1/2 Hollow and 1/4 Hollow (also called a “Wedge”) are, on the other hand, straighter and more diagonal in their grind down towards the edge and consequently significantly heavier. They are sturdier and more stable to handle, which is why they are often recommended for beginners.
If you are really experienced, you can take on a so-called singing razor, a straight razor that is extra hollow ground – that is, Full Extra Hollow. It got its name because it sings if you flick the blade. However, this is not recommended because it ruins the balance. Balancing is a chapter in itself and is truly complicated. As a curiosity, it can be mentioned that 25 percent of the blades ground to Full Extra Hollow must be discarded at the factory because they do not meet the standard.

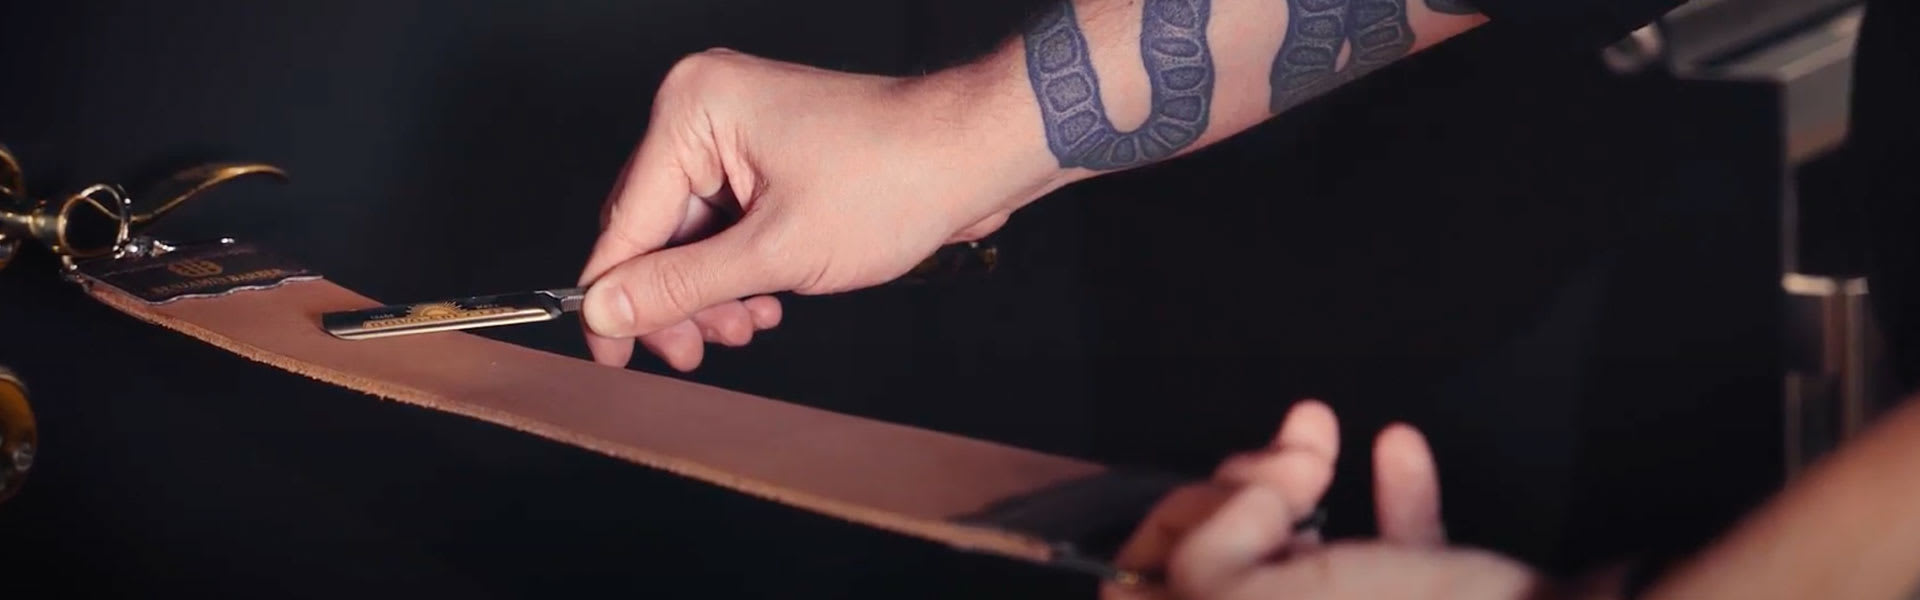
Well-known manufacturers such as Dovo recommend that you do not sharpen your straight razor on a whetstone until it is absolutely necessary, that is, about once a year. However, when you buy a straight razor, it is always newly sharpened, and if you maintain it regularly, it will last a lifetime. That is why you perform what is known as stropping.
Stropping is a process carried out on a long leather strap (the strop) in order to preserve the edge of the straight razor – not to sharpen the razor. Stropping the straight razor means that you straighten out the microscopic “waves” or “dents” that your beard stubble caused to the edge during your last shave. Rumour has it that coarse beard hair is as hard to get through as thin copper wire, so you can imagine what the edge looks like under a microscope after shaving.
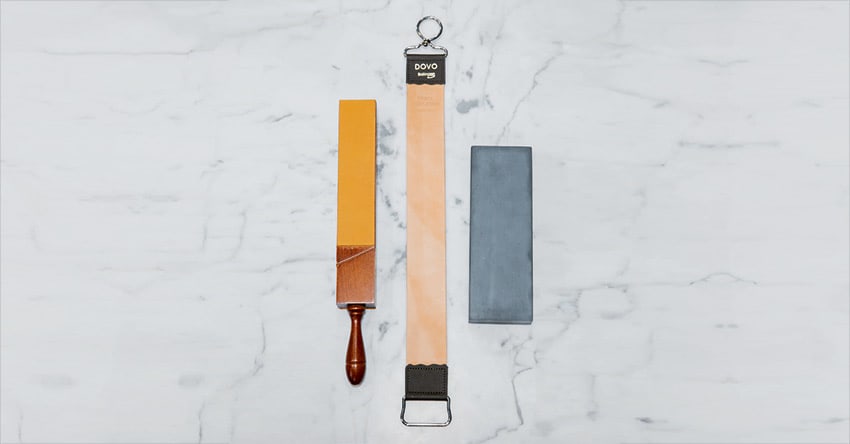
There are three types of strops (which are most often made of calfskin or buffalo leather, and where Dovo is the best-known manufacturer)
The hanging strop
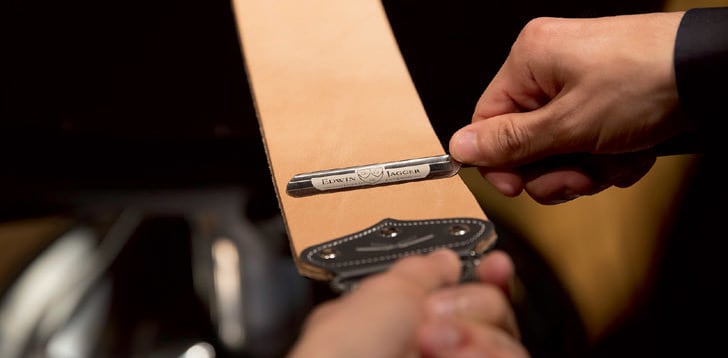
Has a hook or loop at one end and a handle at the other. The grain side, which is the glossy side, should face up. The strop should then be kept taut and the razor should lie with the entire blade flat against the strop. Gents also sells its own variant with genuine calfskin on the front and canvas on the back (you use the canvas side before stropping on the leather side to polish the sharpness of the blade edge) as well as a wider strop made of pure cowhide.
Rumour has it that coarse beard hair is as hard to get through as thin copper wire.
The paddle strop
Is, of course, shaped like – that is right – a paddle, and to use it you rest it against, for example, a table or your knee. Good if you find it troublesome to keep a hanging strop taut.
Hand strop
A variant from the manufacturer Dovo that resembles a paddle strop but is stretched on a metal frame and for many feels easier to work with in the beginning. However, it does not have the same strop width as the others, which means that the full width of the blade is not stropped in one pass and you have to draw the razor several times.
When you strop, remember to keep your strop taut if you are using a hanging version. The first time you use the strop – and then whenever the strop feels dry – you should use strop paste (special leather balms are also available). The grease in the paste is intended to keep the strop soft and supple and makes the razor glide with more resistance. You begin by applying the strop paste to the grain side, which is the glossy side (if Dovo is the manufacturer, it is the side of the strop where you see the “Dovo” print). The grease is then worked into the leather by hand. The strop paste does not need to be used at every stropping, only when the leather starts to feel dry.
A small selection of products for stropping


Or see our full range of stropping products here...
When you strop, lay the razor flat against the strop and draw it in the direction of the spine, first towards you and then away from you. All the while with the spine leading in the direction of travel. You absolutely do not need to apply any pressure to the razor – its own weight is more than enough. Draw the straight razor diagonally across the entire length of the strop. When you turn the razor, do so with the spine against the strop and not the edge, otherwise you will ruin both the edge and the strop. As you continue stropping, the “dents” in the edge will close towards the centre line and the edge will once again become straight and sharp.
Do not strop immediately after shaving, because the edge is porous then, and heavy stropping can in the worst case cause the very outermost part of the edge to chip off or partly crumble. Therefore, always strop before you shave, not after.
It is best to use the strop before every shave for about 1–2 minutes, depending on how sharp or dull the razor is. The most important thing is that you never draw the razor in the direction of the sharp edge, as that will ruin your precious straight razor (and it is easy to cut up or damage the strop in the beginning if you are inexperienced and do it wrong!). Nor should you wash the razor after stropping – you only do that after shaving.
Sharpening is something that should be left to professionals, and it is generally recommended that you hand in your straight razor to a specialist for sharpening when the time comes. It costs at most a couple of hundred kronor, but it may well be worth it considering the permanent damage you can inflict on the blade if you do not know what you are doing. Nearby barbershops usually have addresses and phone numbers for specialists in straight razor sharpening.
It is generally recommended that you hand in your straight razor to a specialist for sharpening.
If you still feel that you know what you are doing and have enough experience to do it yourself, keep the following in mind: when you sharpen the razor on a whetstone (available for purchase), it is the opposite compared with stropping. During sharpening, you draw with the edge first, in cutting movements. Turn the razor while it is still lying on the stone, with the spine against it. The resulting motion can be likened to a figure eight. It is best to take a look at some of the instructional videos available on, among other places, YouTube. Even the experienced can find good tips and tricks there. And if you feel the slightest uncertainty about the technique, it may be an advantage to buy a bunch of second-hand razors on Tradera to practise on before putting your own expensive piece to the stone. Used straight razors suitable for sharpening practice can be found for less than fifty kronor.

When sharpening, you should first have some kind of oil or water on the stone – it actually does not matter which (ordinary olive oil or rapeseed oil that most people have at home is perfectly fine). When you have finished sharpening, you can test the razor using your fingernail. If the razor catches on the nail, the sharpening is done and you can begin stropping the razor. When the razor is then sharp enough for shaving, it should be able to cut a hair.